2021.12.19 - First Visit
Since there were a fair number of things left undone on Naiad when she was launched a few days ago I decided to visit her and to finish some of these tasks starting with the most important ones, the mooring ropes.
However, before I did that I had to devise a way to lift the dinghy into and out of the minibus single-handed. Since the dinghy is constructed from 9mm plywood and is 8' long and 4' wide, this is not a simple matter as she is quite heavy.
FirstlIy had to make a launching trolley which was not a difficult job since most of the parts for one came with Naiad when I bought her, I've just never needed it before now so it has remained in pieces.
The trolley was quickly put together and since it is not going to be used a great deal it did not have to be very strong, just strong enough.
After the trolley was completed I had to find a method to load and unload the dinghy. Once the bows of the dinghy are put into the minibus, the rest of the dinghy is easily pushed in to place simply by lifting up the stern and pushing. The difficulty is getting the bows in first.
In the end I achieved this by turning the dinghy over so that it was upside down, placing a small platform on castors under the transom and then manoeuvring the dinghy into place by lifting the bows and dragging the rest of the dinghy on the wheeled platform. This proved to be surprisingly easy so with that done I set off from home at 06:15 heading for West Mersea.
It was foggy with only about 100m of visibility in the Fens so it was slow driving for the first hour. By the time I reached the A12 the fog had thinned considerably and I could drive at a normal pace, slowing when the fog thickened.
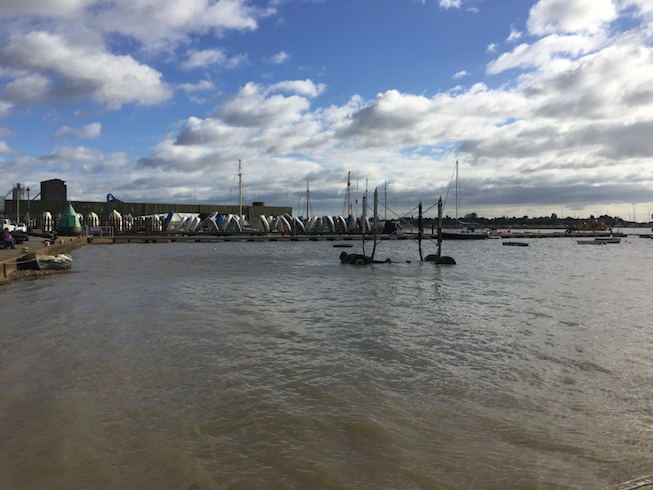
High Water was scheduled to be at 12:12 so I would be arriving about 2 hours after low water. I parked the minibus, unloaded the dinghy, put everything in so that I didn't need to carry anything else, changed into my wellies and wheeled the dinghy down to the waters edge. It's quite a long way as the shore does not slope much so at low water the trip can be around 100m from the slipway.
With the dinghy in the water on a rising tide I didn't have to worry about the dinghy floating away since the tide would push it up the beach as it came in. There was a little wind but not enough to blow the dinghy away. The trolley was returned to the minibus and I went back to the dinghy, climbed in and rowed out to Naiad.
The first thing to do on arrival, apart from transferring everything from the dinghy to the boat and folding up the cockpit cover, was to get the heater going. Out there on the mooring it was damp and the wind, slight as it was, made it very cold.
Once the heater was going I made a start on my to do list. The anchor chain was fed into the chain locker, the mooring ropes cut to length, a bowline tied in the ends and the loops put over the sampson post. A short length of chain was used to chain the mooring line springs to the buoy but not tight as this is a failsafe in the unlikely event of the knots on the buoy coming loose. Finally a pickup buoy was attached to the mooring ropes.
By this time my hands were numb and I was beginning to make mistakes so I retired to the warm cabin and made a cup of tea. I also logged onto the parking app and paid for a day's parking. Well, once my fingers had warmed up, that is.
I found a packed of instant rice in the provisions, so I had that for lunch and it was about that time that I noticed that the ship's clock was still showing time in BST. I leant over and corrected it as as I did so a drop of water fell off the panel to which the clock and the barometer were fixed and onto one of the cushions below. The cushion was soaked indicating that this leak had been dripping for some time. I took a closer look and found that the water was first dripping off one of the bolts holding the tabernacle to the deck and onto the barometer. The drip then ran down behind the barometer, along the wooden panel to the lower edge where it then dropped off and onto the cushion.
I suspect that the 3 hours of jolting when trailing the boat from Home to West Mersea last Thursday cracked the watertight seal. The mast and deck have been wet from mist and fog since Naiad was launched and the water running down the mast and onto the deck has leaked through the bolt hole somewhere and into the cabin.
When I left to return home I lifted up all the cushions to allow them to air and moved them out of the way of the drip. The heater was still going at this point with a fair bit of charcoal still left in the fire chamber, so there would be several hours of warmth in the cabin which should dry out the damp material.
I will have to fix this leak but that is going to be a little more complicated than it sounds. You see, the water has already started to soak into the plywood deck so the sealing of the leak needs to wait until the wood has dried and it will not do that until the late Spring or Summer. On the other hand, it needs to be sealed up as soon as possible to stop more water getting in and more soaking of the plywood.
I did some research when I got home and found that there are a number of sealants available that will work with damp wood and one that can even be used underwater. I will buy a tube of this and during my next visit I will remove the dripping bolt, apply the sealant, replace and tighten the bolt. That should stop the leak for the time being. Then, in the Summer when it is warm and dry I will remove the bolt and drill out the sealant and leave the hole open for a few days to allow the plywood to dry out. Then the hole will be resealed and the bolt put back and tightened.
2021.12.16 - Launched
I am delighted to announce that Naiad was successfully launched and is now on her new mooring.
We made everything ready last night and went to bed early since we had to be up again at midnight. Having got up and fed the cats, made some coffee we set off from home at just before 1am. This was deliberate since I didn't want to be towing Naiad in any significant traffic. I was going to drive slowly. I also didn't want to negotiate a couple of the streets in Colchester when there was traffic since there are cars parked on both sides of the street making it a bit of a slalom if anything is coming the other way. Not an easy thing when you are towing.
The drive was totally uneventful and my plan worked well.
We arrived just after 3am with less than an hour to low water, which was perfect. We scouted the shoreline before setting to work. Firstly we had to undo all the ropes that I had used to tie things down and that meant undoing them in the reverse order to putting them on to prevent tangling.
As I undid the ropes I noticed that some of the rigging was missing. The pelican hook and bottle screw from the forestay and the four bronze belaying pins. I had forgotten to mouse the shackle holding the bottle screw to the end of the forestay and to tie the belaying pins in place. The forestay was going to be an easy repair since I had spares but the bronze belaying pins are very difficult to replace being custom made.
A short while later and after a few more ropes were untied I found all of the missing items, including the small and light shackle pin, on the side deck wedged under one of the lashings that held Naiad to the trailer. I guess driving slowly had an additional benefit that these Items were not shaken overboard and completely lost.
Once everything was freed up the bowsprit was mounted and the shackles moused. The gaff and boom were laid aside on trestles as I didn't want them to lay in the mud and Naiad, still on the trailer, was turned around and pushed down the shore to the edge of the now rising tide.
The mast was raised, the boom and gaff fitted and a very long rope attached to the trailer and another to Naiad and laid out back up the shore.
The trailer was then pushed back into the water as far as we could, we had wellies on, not waders, so that wasn't far enough to let Naiad float off. The dinghy was brought down to the water's edge and and we returned to the car to wait for the tide to rise far enough to allow Naiad to float clear of the trailer.
Which it did about 20 minutes later. I used the dinghy to tow Naiad out into deeper water and moored her to a vacant buoy before returning to the shore to retrieve the trailer which was now completely underwater. This was easily done by pulling on the long rope that we had laid out for just that purpose.
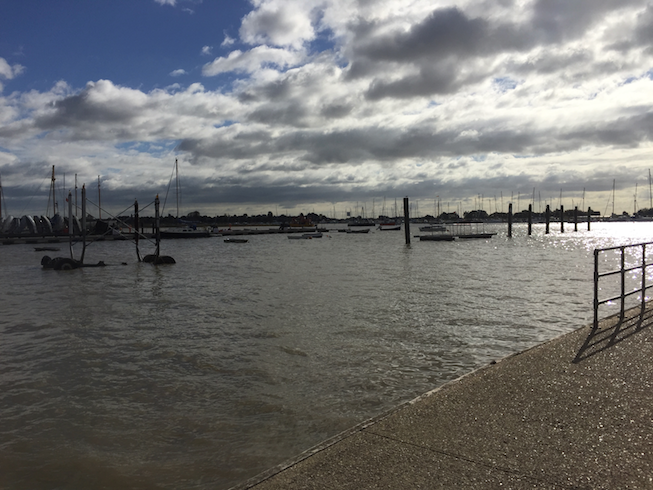
By this time it was mid-tide so the current was at its strongest and since Naiad's new mooring was up-tide and Naiad does not have any form of motor, we had to wait for the tide to slacken, We also had to wait for there to be enough light to find the mooring which was about 300m away from our launch site and not visible in the dark.
Finally, about 2 hours before high water, we rowed out to Naiad, boarded, trailed the dinghy behind and paddled Naiad to her mooring.
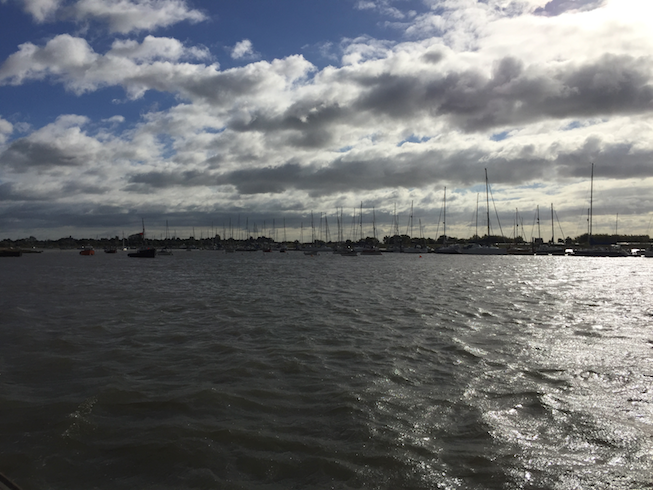
This is Naiad on her temporary mooring while we waited for the tide to slacken and daylight. Can't see her? No, nor could we which is why we were waiting.
A bit later on and the boats are now visible. Naiad is centred in the image, more or less.
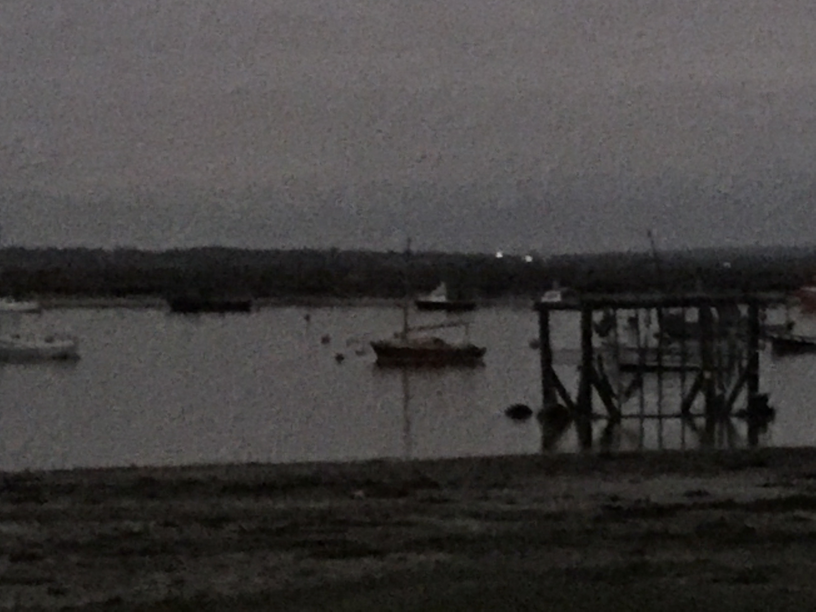
I zoomed in to get a better picture, but the low light conditions made it not so good.
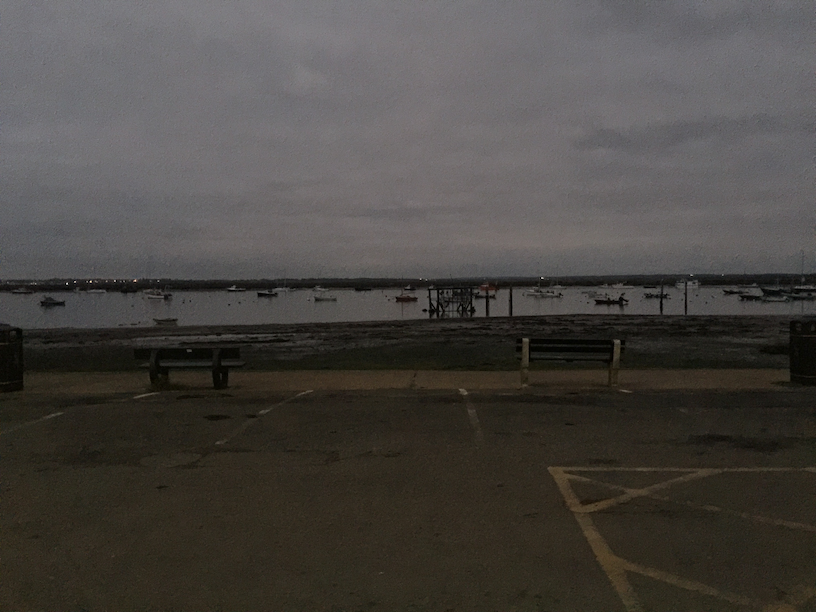
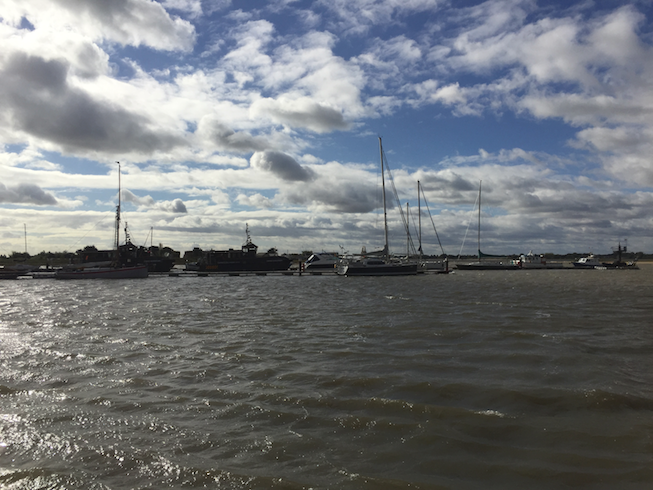
The same two photos but taken nearly an hour later in full daylight.
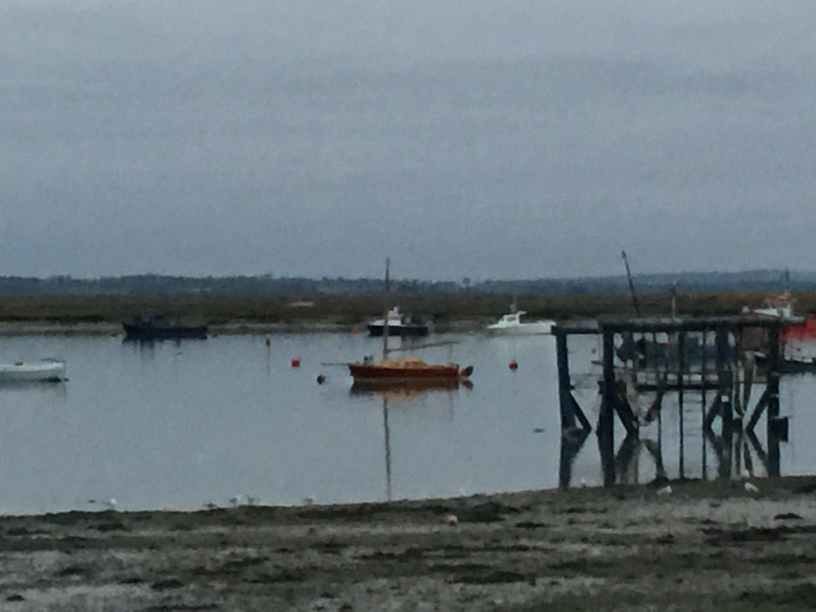
Such a nice boat.

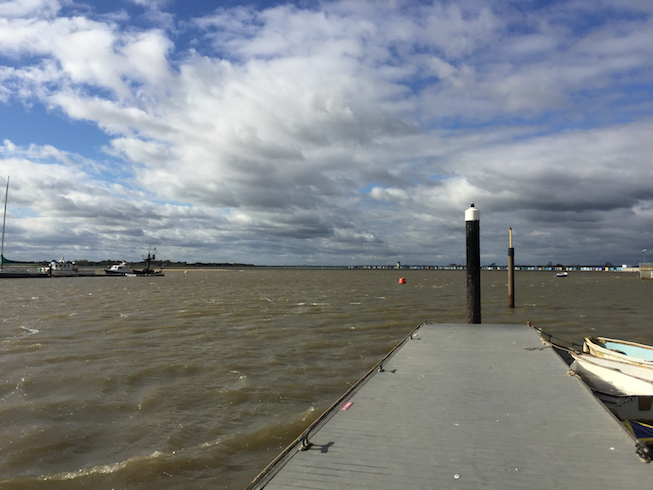
Finally, on her new mooring as we are leaving.
As you can see from the lack of waves there was no wind at all and the ripples you can see were made by either the still rising tide or the oars as I rowed.
There is still more to do on Naiad before she can be sailed, but we were very tired by this point and still had a two hour drive home so we made sure that Naiad was safely moored and left the rest for the next visit.
Next visit?
I can't wait !!!
Time for a cup of tea.
2021.12.12 - Getting There, Slowly
Work on getting Naiad ready to launch is progressing albeit slowly due to the cold and stormy weather we have been experiencing recently.
Still, things have been getting done.
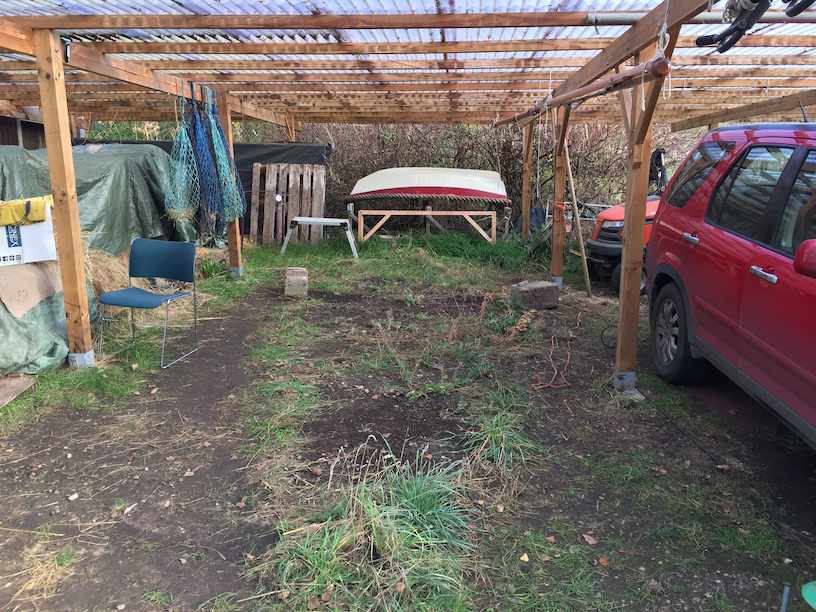
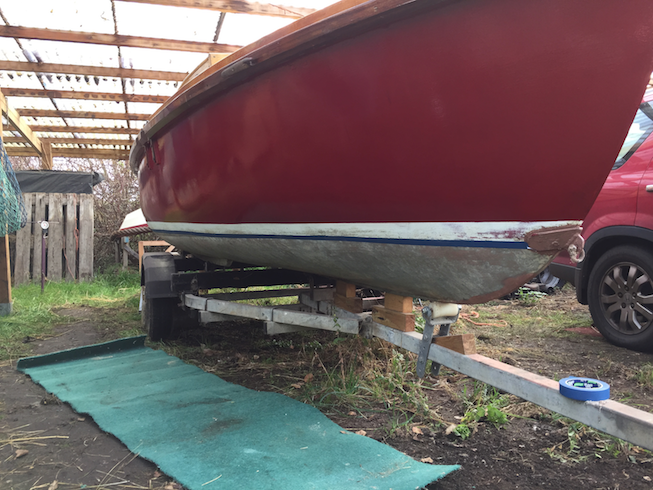
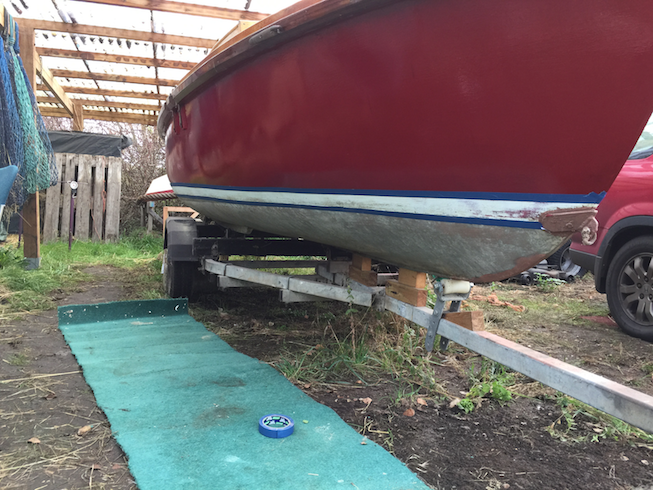
Naiad has been moved out of the hay barn. It's a little difficult to raise the mast when she's in there.
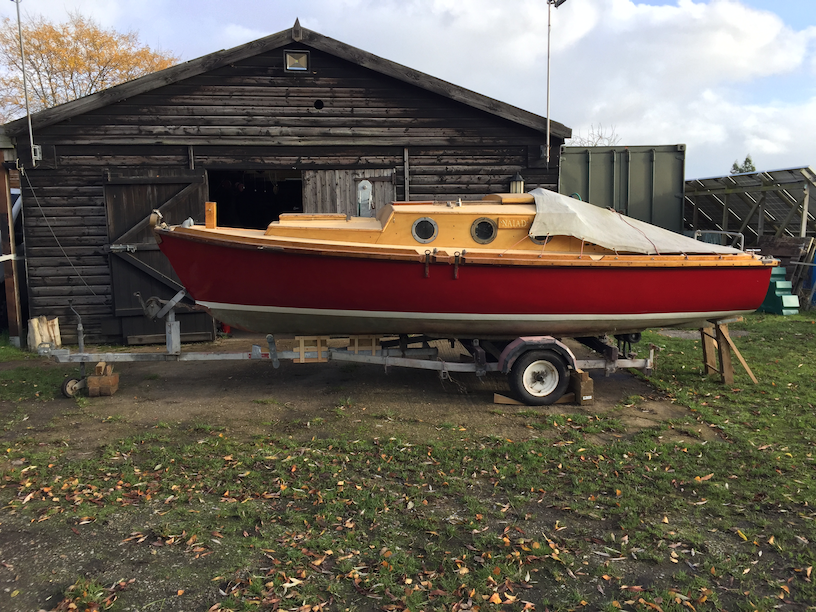
She has been moved to the concrete hard outside the workshop and the trailer chocked up to prevent movement. The trailer wheels have been checked, the bearing races needed to be tightened and greased and the tire pressures checked.
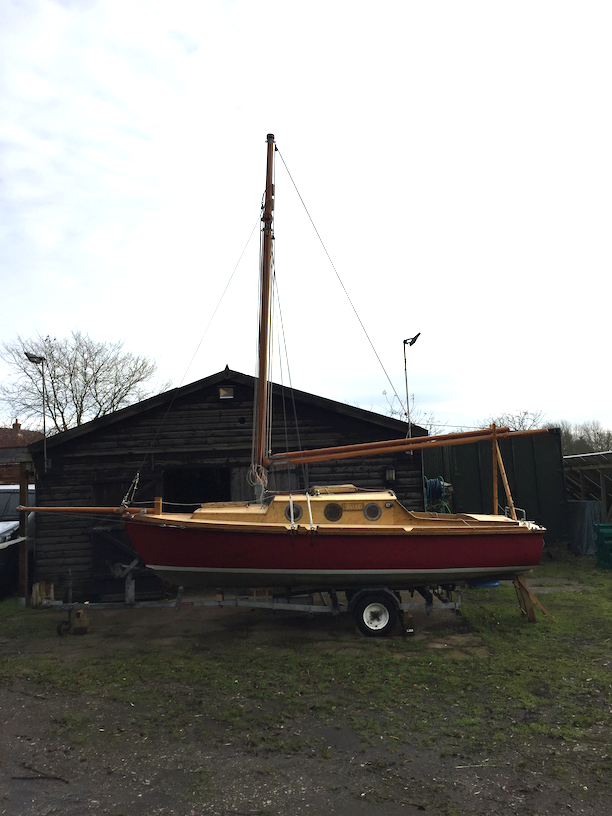
The mast has been dressed and mounted and the spars attached.
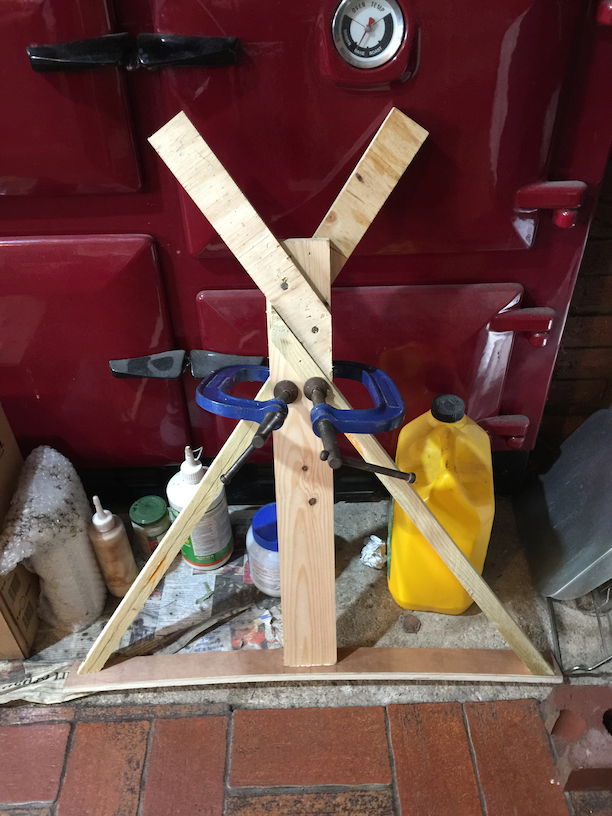
This odd looking construction is the travelling spar support. The boom crutches are not really suitable for long-distance travelling as they are too high.
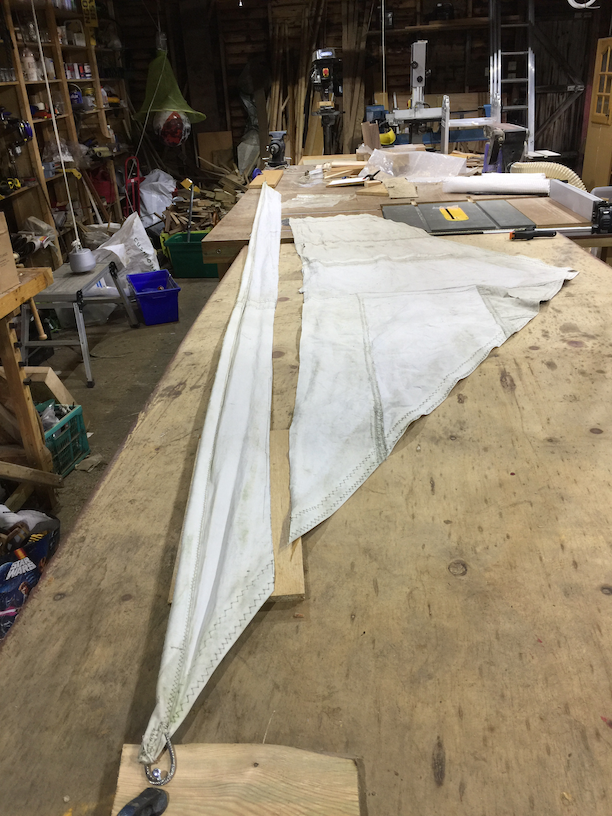
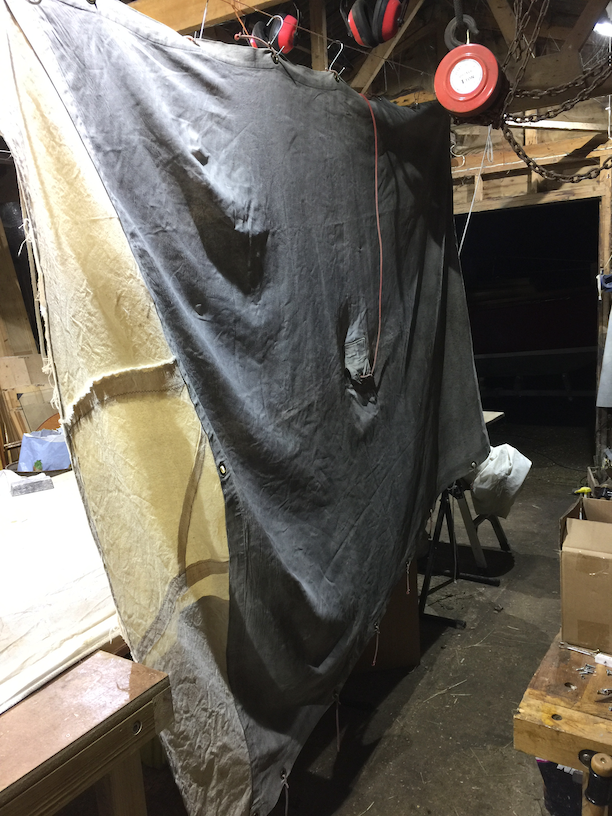
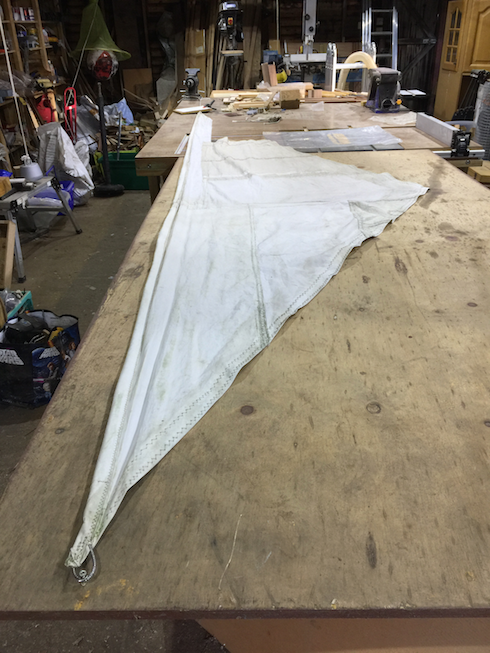
I wanted to reuse the luff of toehold jib as it was in fairly good condition and I didn't have any stainless steel rope to make a new one. Here is the old job with the luff cut off.

By using a hot knife to cut the sail cloth I achieved a good cut with sealed edged.
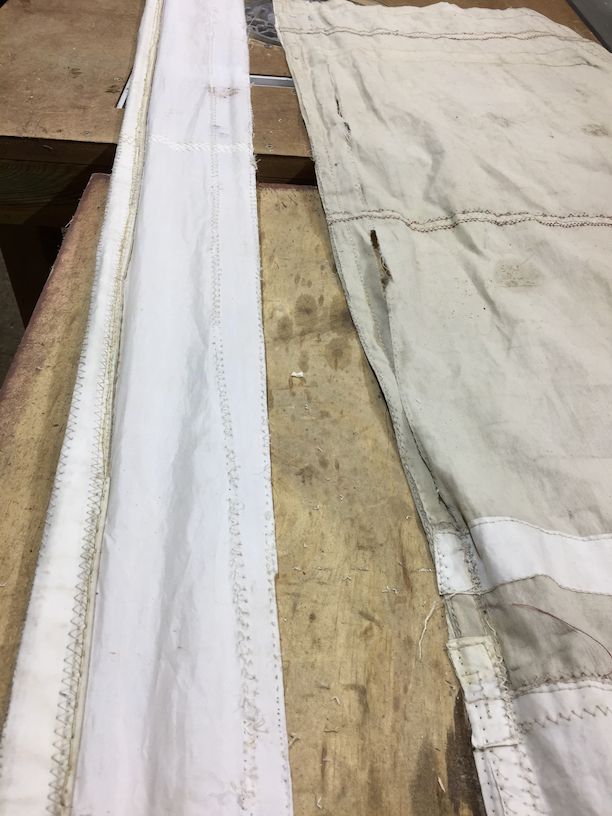
As you can see, the luff is in good condition compared to the old sail that is tearing apart.
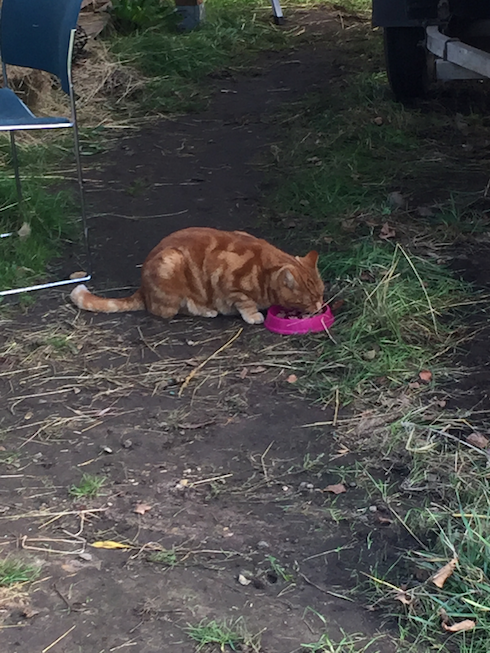
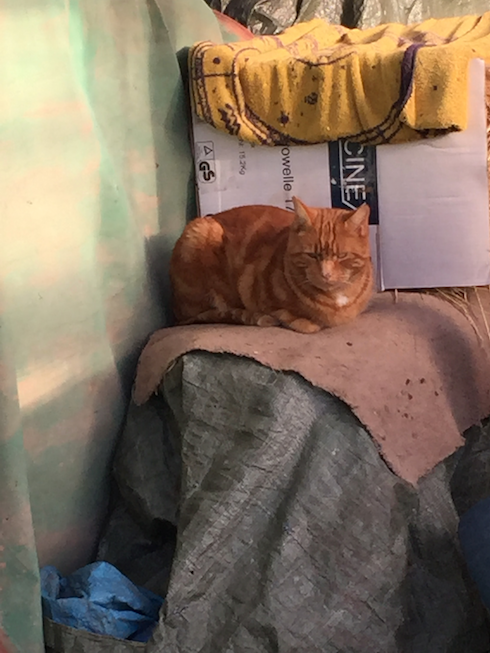
Clyde had to inspect the work and leave his mark of approval.
I remembered that I had to put some zinc paint on the gooseneck fitting so I took a few moments to do that. making sure that the paint did not drip onto the sailcloth on the work surface below.
The hot knife used to cut the sail cloth was literally a hot knife. I used an old re-enactment cleaver, sharpened the edge and then put it into a flame to heat it up.
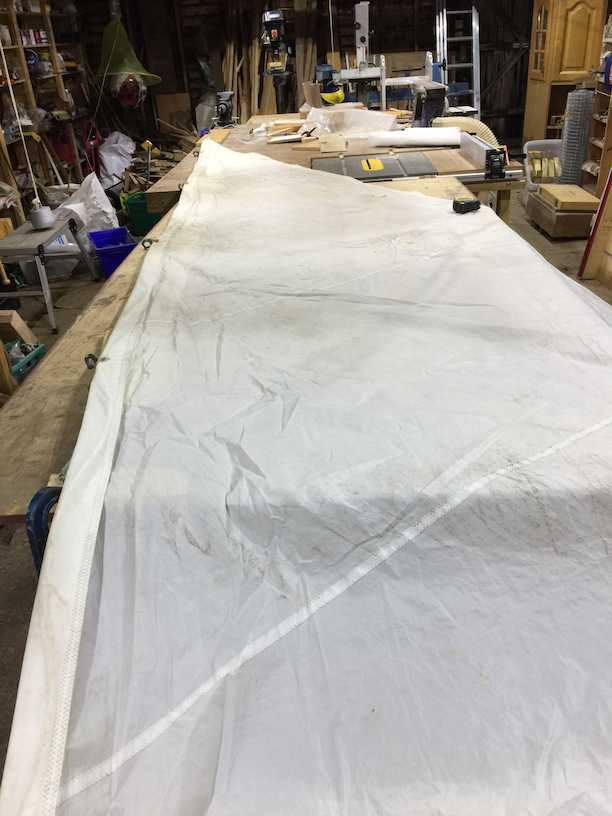
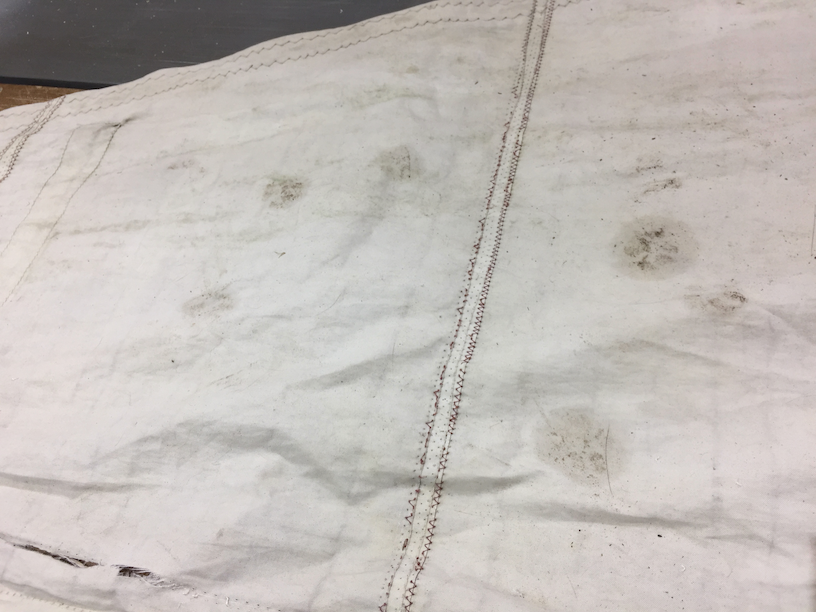
Here one of the second-hand sails I bought a few weeks ago has been laid out. The lead weight you can see preventing it from all falling onto the floor is the third point of the triangle, more-or-less.

A view of the same but from the other end.
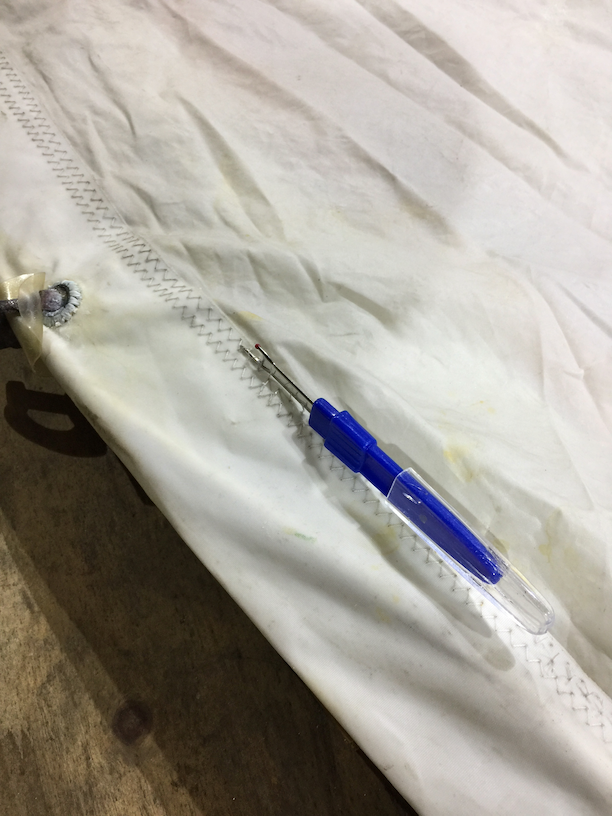
The luff of the new sail had to bereaved and that involved a seam-splitter. A very useful little gadget.
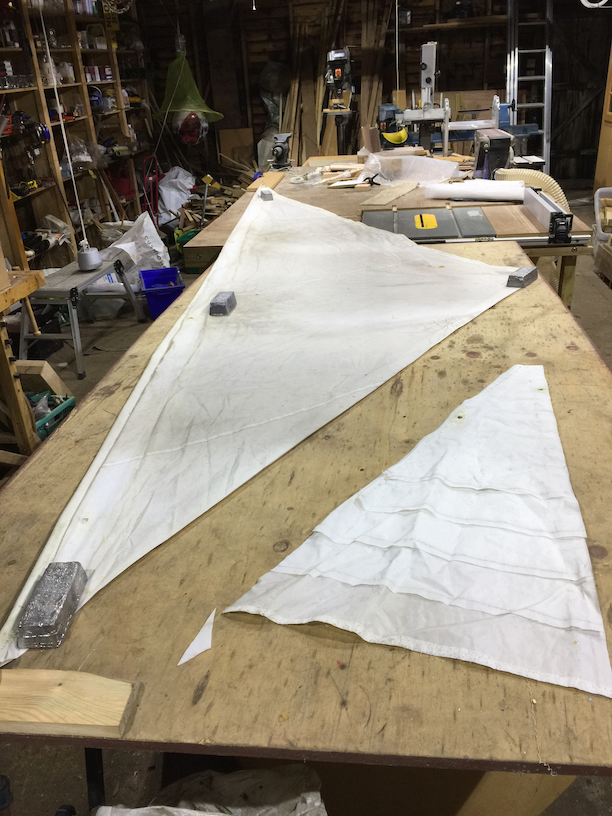
The new sail cut and held in place with weights. The section at the bottom right of the photo is the five reinforcing patches from the new sail. Five is too much for the new jib so I'll only use two of them, but since they are already cut to the correct shape I didn't discard them.
The newly extended cockpit covers dried and hung up in the workshop and given a liberal coating of Fabsil using a spray bottle.
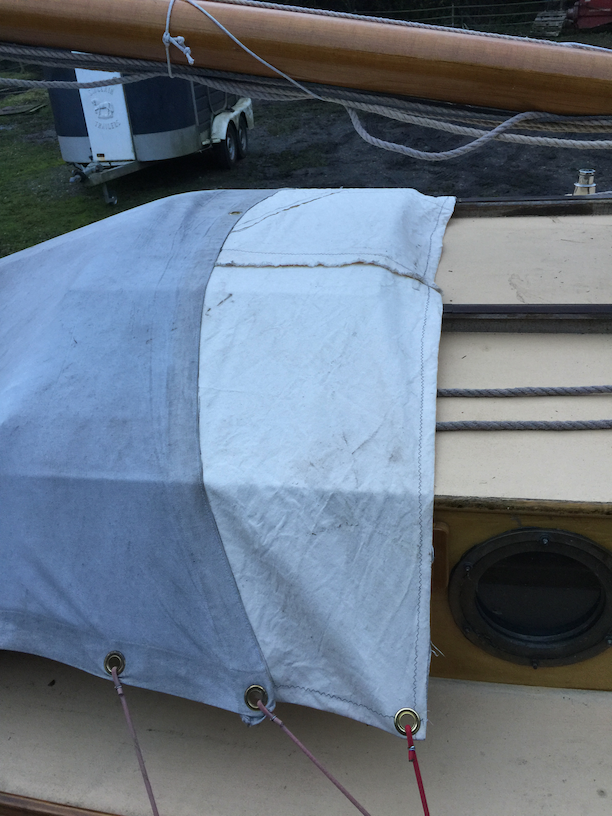
The extension has worked well, its purpose is to cover the hatch.
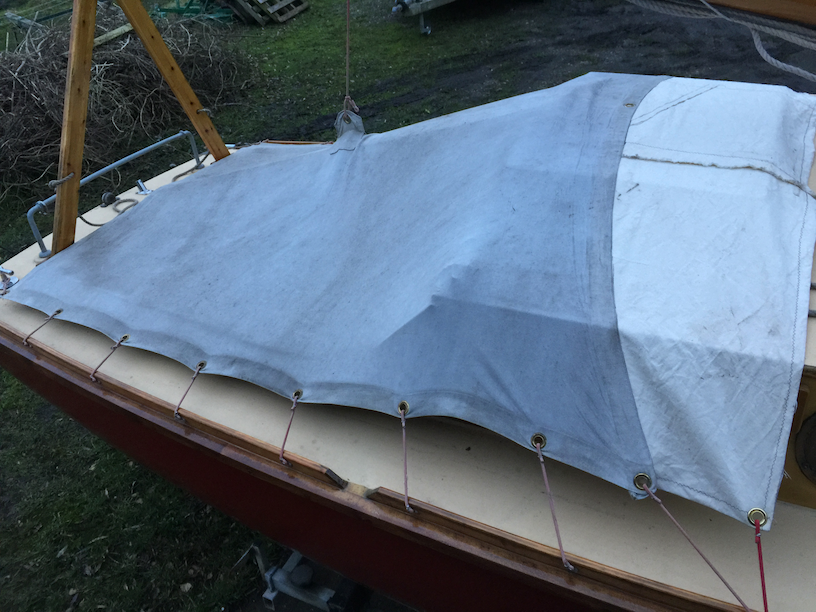
A view of the completed cover and modification. The canvas is not blue but grey. The low light conditions jus made it look slightly blue.
So, as you can see, things are progressing.
2021.11.19 - Getting Ready to Move
There is still a fair bit to be done before Naiad goes back in the water since she will not be close by anymore. This means that the things I had planned to do when she was back on the river, I now have to do before she goes to West Mersea.
The hull has been painted and I have taped the bottom of the waterline.
Here the top is also taped...
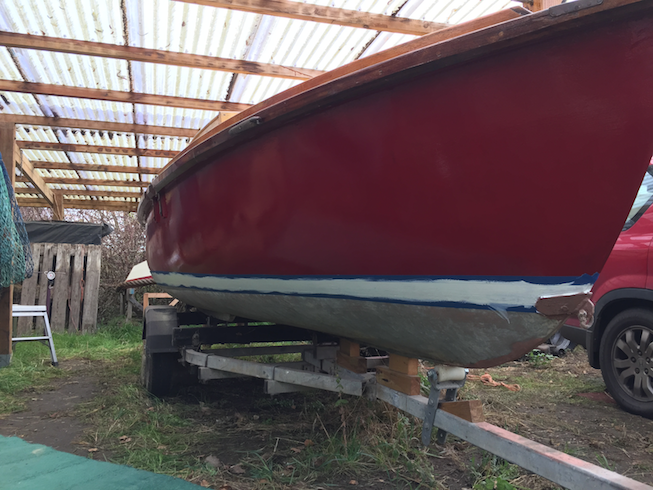
...and the first coat of paint added...
...under the watchful eye of the foreman.
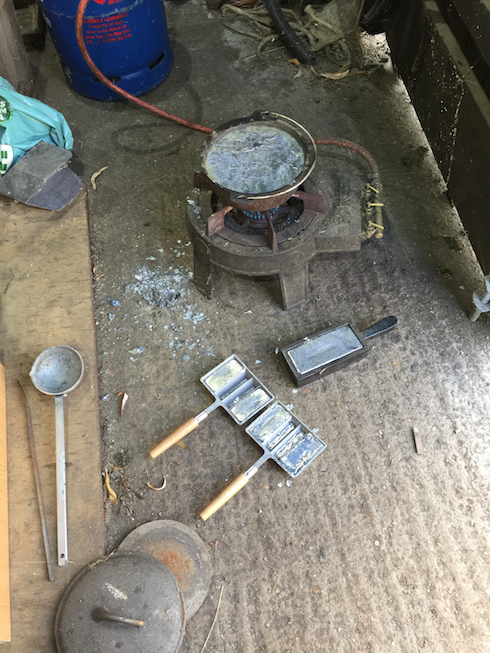
Next up was some lead melting. I have just poured the second set of weights.

These are the first set.
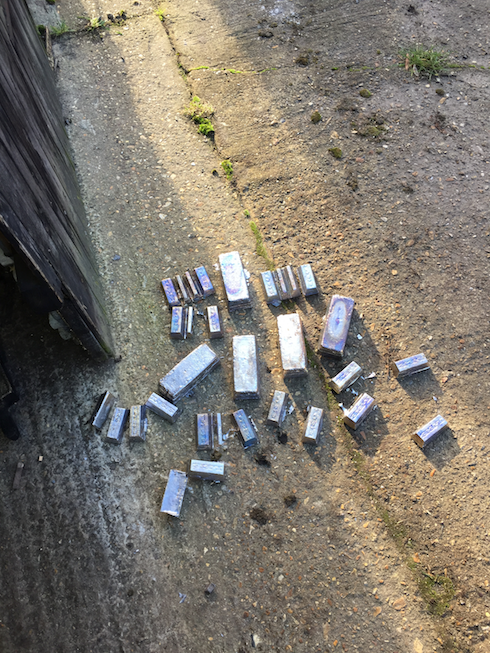
This is today's haul, about 25kg or 55lbs.
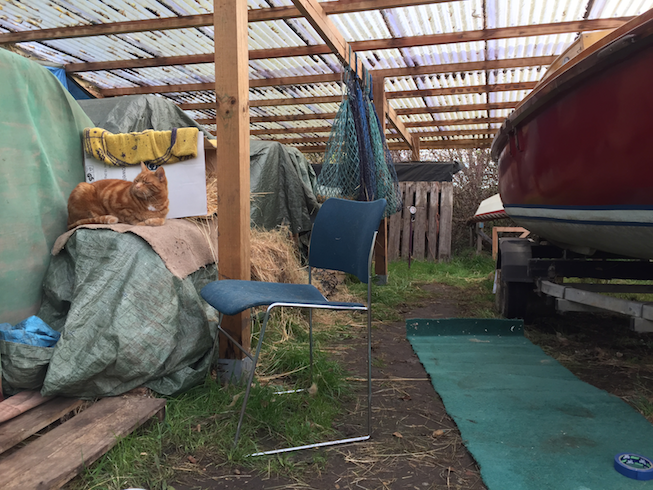
By this time the foreman was only interested in lunch.
And after that, an afternoon snooze.
I, on the other hand, continued by using a thick sheet of plywood supported at the same height as the work bench to make an extension that I can use as a sail loft surface. Here I have the job stretched out.
But work on the new headsails will have to wait until tomorrow.
2021.11.01 - Some Images of Brightlingsea
I took some photos and a video whilst I was visiting Brightlingsea and rather than waste them I'm posting them here.
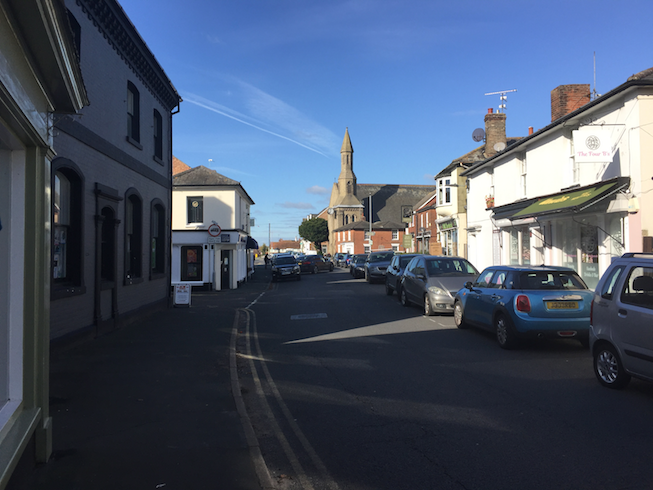
The town centre itself is quite small but it does have a few shops and a nice coffee shop called Cafe Chic.

But it's not exactly somewhere you'd want to visit to go shopping.

There are two or three long roads down from the High Street to the harbour.
This is the public hard near high tide.
More of the same.
View from the shore to the right of the floating pontoon.
Now at the end of the pontoon facing up the creek.
A bit further round clockwise.
And a bit more.
This is the view down the creek toward Mersea Island.
Starting to look back at Brightlinsea still from the end of the pontoon.
Now a quick video from the end of the pontoon with the audio removed as it is just wind noise.